Pennywise Pumpkin Carving: The Ultimate Guide To A Hauntingly Creative Halloween
Halloween is the perfect time to showcase your artistic skills and bring your favorite spooky characters to life. One of the most iconic and terrifying figures that have captured the imagination of horror fans is Pennywise, the sinister clown from Stephen King's "It." Pennywise pumpkin carving has become a popular trend for those looking to elevate their Halloween décor, combining creativity with the chilling essence of this legendary character. Whether you're a seasoned pumpkin carver or a beginner, carving a Pennywise design is an exciting way to impress your neighbors and guests.
Carving a Pennywise pumpkin requires more than just a sharp knife and a pumpkin—it calls for patience, precision, and a spark of creativity. With the right tools, techniques, and step-by-step guidance, you can transform an ordinary pumpkin into a masterpiece that captures the eerie essence of Pennywise. From his haunting smile to his menacing eyes, every detail matters when recreating the clown's unsettling visage. But don't worry; this guide will walk you through every step of the process, ensuring a satisfying and rewarding carving experience.
In this comprehensive guide, we'll cover everything you need to know about Pennywise pumpkin carving, from choosing the right pumpkin to mastering fine details. We'll also dive into the history of pumpkin carving, the cultural significance of Pennywise, and tips for preserving your carved pumpkin. So, grab your carving tools, put on your favorite horror movie soundtrack, and get ready to create a Halloween decoration that's equal parts creepy and captivating!
- Iran Flag Lion
- Iran And Israel Relations
- Iran Usd
- Will Iran Retaliate
- Will Israel Respond To Iran Attack
Table of Contents
- What is Pennywise Pumpkin Carving?
- Why is Pennywise So Popular?
- Choosing the Perfect Pumpkin
- What Tools Do You Need for Carving?
- How to Create a Pennywise Pumpkin Stencil?
- Step-by-Step Guide to Carving
- Tips for Mastering Pennywise Details
- How to Preserve Your Carved Pennywise Pumpkin?
- Lighting Your Pennywise Pumpkin
- Common Mistakes and How to Avoid Them
- Alternative Ideas for Pennywise Pumpkins
- Can Kids Participate in Pennywise Pumpkin Carving?
- Showcasing Your Pennywise Pumpkin
- Frequently Asked Questions
- Conclusion
What is Pennywise Pumpkin Carving?
Pennywise pumpkin carving is the art of creating a pumpkin design inspired by Pennywise, the terrifying clown from Stephen King's "It." This trend has gained immense popularity among Halloween enthusiasts who want to add a touch of horror to their decorations. Unlike traditional jack-o'-lanterns with simple faces, Pennywise pumpkin carvings involve intricate details that capture the essence of the character, including his unsettling grin, sharp teeth, and piercing eyes.
The process involves using a stencil or freehand drawing to outline Pennywise's features on the pumpkin. Once the design is sketched, carvers use specialized tools to etch, carve, and scrape the pumpkin's surface to bring the image to life. The result is a stunning, eerie decoration that perfectly complements the Halloween spirit.
Whether you're a fan of the original 1990 miniseries or the recent movie adaptations, Pennywise pumpkin carving allows you to pay homage to this iconic character while showcasing your artistic abilities. It's a fun and rewarding activity that can be enjoyed by individuals, families, and groups alike.
Why is Pennywise So Popular?
Pennywise has cemented his place as one of the most iconic horror characters of all time. But what makes him so popular? There are several reasons why this sinister clown continues to captivate audiences around the world:
- Timeless Story: Stephen King's "It" is a classic tale of fear, friendship, and bravery. The story's universal themes resonate with readers and viewers of all ages.
- Terrifying Design: Pennywise's appearance is a perfect blend of creepy and captivating, with his unnerving smile, glowing eyes, and clown costume.
- Memorable Performances: Both Tim Curry (1990) and Bill Skarsgård (2017, 2019) delivered unforgettable portrayals of Pennywise, bringing unique nuances to the character.
- Psychological Depth: Unlike many horror villains, Pennywise represents more than just physical fear—he embodies the personal fears and insecurities of his victims.
Pennywise's popularity has transcended the pages of the book and the screen, inspiring merchandise, memes, and, of course, pumpkin carvings. For horror fans, carving a Pennywise pumpkin is a way to celebrate their love for the character and the genre.
Choosing the Perfect Pumpkin
Before you start carving, it's essential to choose the right pumpkin. The quality of your pumpkin can significantly impact the final result of your Pennywise design. Here are some tips for selecting the perfect pumpkin:
- Size: Opt for a medium to large-sized pumpkin with enough surface area to accommodate Pennywise's intricate details.
- Shape: Look for a pumpkin with a smooth, flat surface. Avoid pumpkins with deep ridges or uneven surfaces, as they can make carving more challenging.
- Stem: Choose a pumpkin with a sturdy stem. The stem not only adds character to the pumpkin but also makes it easier to handle during carving.
- Color: While orange is the traditional choice, you can experiment with white or other colored pumpkins for a unique look.
- Freshness: Ensure the pumpkin is fresh and firm. Avoid soft or moldy pumpkins, as they are more likely to rot quickly.
Remember, the pumpkin is your canvas. Taking the time to choose the perfect one will set the foundation for a successful Pennywise pumpkin carving.
What Tools Do You Need for Carving?
Having the right tools is crucial for creating a detailed and accurate Pennywise pumpkin carving. Here's a list of essential tools you'll need:
- Carving Knives: Use small, sharp knives for detailed work and larger knives for cutting off the top and removing the pulp.
- Scooping Tools: A sturdy scoop or spoon is necessary for cleaning out the pumpkin's interior.
- Pumpkin Saw: A serrated pumpkin saw is ideal for cutting intricate designs.
- Etching Tools: Use etching tools or linoleum cutters for scraping and shading areas of the pumpkin.
- Stencils: Printable Pennywise stencils can guide your carving process, especially if you're not confident in freehand drawing.
- Push Pins: Push pins help secure the stencil to the pumpkin while tracing the design.
- Lighting: LED candles or string lights are safer alternatives to traditional candles for illuminating your pumpkin.
Investing in a pumpkin carving kit is a great idea, as it typically includes most of these tools. With the right equipment, you'll find the carving process more enjoyable and less frustrating.
How to Create a Pennywise Pumpkin Stencil?
Creating a stencil is a helpful step for ensuring accuracy when carving intricate designs like Pennywise's face. Here's how you can make your own stencil:
- Find a Reference Image: Search for high-quality images of Pennywise online. Choose one that highlights his facial features clearly.
- Edit the Image: Use photo editing software to adjust the image's contrast, making the lines and features more defined.
- Print the Image: Print the edited image on standard paper. Ensure the size matches your pumpkin's surface area.
- Cut Out the Stencil: Carefully cut out the areas of the stencil that will be carved out of the pumpkin.
- Attach the Stencil: Use push pins or tape to secure the stencil to the pumpkin. Trace the design onto the pumpkin's surface with a marker or pin tool.
Once your stencil is ready, you're one step closer to bringing Pennywise to life on your pumpkin!
Step-by-Step Guide to Carving
Follow these steps to create your own Pennywise pumpkin carving masterpiece:
- Prepare Your Pumpkin: Cut off the top of the pumpkin and scoop out the seeds and pulp. Ensure the inside is clean and smooth.
- Transfer the Design: Use your stencil or freehand drawing to outline Pennywise's features on the pumpkin.
- Start Carving: Begin with the larger areas and gradually move to the smaller, more detailed sections. Take your time to avoid mistakes.
- Add Depth and Shading: Use etching tools to scrape away the pumpkin's surface for a layered, three-dimensional effect.
- Light It Up: Place an LED candle or light inside the pumpkin to test how the design looks when illuminated.
Remember to carve in a well-lit area and take breaks if needed. Patience and precision are key to achieving a stunning result.
Tips for Mastering Pennywise Details
Recreating Pennywise's face requires attention to detail. Here are some tips to help you master the finer points:
- Focus on the Eyes: Pennywise's eyes are one of his most menacing features. Carve them slightly deeper to make them stand out.
- Highlight the Smile: Pay extra attention to his iconic grin, ensuring the teeth are sharp and well-defined.
- Use Shading: Experiment with scraping the pumpkin's surface to create shadows and depth, especially around the cheeks and forehead.
- Work Slowly: Rushing can lead to mistakes. Take your time when working on intricate areas.
With these tips in mind, you'll be able to capture the eerie essence of Pennywise in your pumpkin carving.
How to Preserve Your Carved Pennywise Pumpkin?
Once you've completed your Pennywise pumpkin carving, you'll want to keep it looking fresh for as long as possible. Here are some preservation tips:
- Keep it Cool: Store your pumpkin in a cool, dry place to slow down the rotting process.
- Use a Sealant: Spray the carved areas with pumpkin sealant or hairspray to prevent moisture loss.
- Refrigerate Overnight: If possible, refrigerate your pumpkin overnight to maintain its freshness.
- Moisturize: Apply petroleum jelly to the carved edges to keep them from drying out.
With proper care, your Pennywise pumpkin can last throughout the Halloween season.
Lighting Your Pennywise Pumpkin
Lighting plays a crucial role in bringing your Pennywise pumpkin to life. Here's how to achieve the perfect glow:
- Choose the Right Light: Use LED candles, string lights, or battery-operated tea lights for a safe and effective glow.
- Experiment with Placement: Position the light source to highlight specific features, such as the eyes or mouth.
- Colored Lights: Consider using red or orange lights to enhance the spooky atmosphere.
Proper lighting will make your Pennywise pumpkin the highlight of your Halloween décor.
Common Mistakes and How to Avoid Them
Even experienced carvers can make mistakes. Here are some common pitfalls and how to avoid them:
- Using a Dull Knife: Always use sharp tools to ensure clean cuts and prevent accidents.
- Skipping the Stencil: A stencil provides a clear guide, reducing the chances of errors.
- Rushing the Process: Take your time to avoid slip-ups and achieve a polished result.
- Over-Carving: Avoid removing too much material, as this can weaken the pumpkin's structure.
Learning from these mistakes will help you improve your carving skills and create a more impressive design.
Alternative Ideas for Pennywise Pumpkins
If traditional carving isn't your style, there are plenty of alternative ways to create a Pennywise-inspired pumpkin:
- Painting: Use acrylic paints to recreate Pennywise's face on the pumpkin's surface.
- 3D Additions: Attach props like red balloons or fake teeth for a mixed-media approach.
- Glow-in-the-Dark Paint: Add a spooky twist by using glow-in-the-dark paint for key features.
These creative alternatives allow you to showcase your love for Pennywise in unique and innovative ways.
Can Kids Participate in Pennywise Pumpkin Carving?
Yes, kids can participate in Pennywise pumpkin carving, but adult supervision is necessary. Here are some tips for involving children:
- Use Safe Tools: Provide kid-friendly carving tools or let them work on less intricate areas.
- Focus on Painting: Younger kids can paint Pennywise's face instead of carving.
- Make it a Team Effort: Assign age-appropriate tasks to each participant, such as scooping out the pumpkin or tracing the design.
Including kids in the activity can make it a fun and memorable family experience.
Showcasing Your Pennywise Pumpkin
Once your Pennywise pumpkin is complete, it's time to show it off! Here are some ideas for displaying your masterpiece:
- Entryway Display: Place the pumpkin on your porch or doorstep to greet trick-or-treaters.
- Photo Sharing: Share pictures of your creation on social media to inspire others.
- Pumpkin Contest: Enter your Pennywise pumpkin in local carving contests for a chance to win prizes.
Your Pennywise pumpkin is sure to be the talk of the neighborhood!
Frequently Asked Questions
Q1: How long does it take to carve a Pennywise pumpkin?
It typically takes 2-4 hours, depending on the complexity of the design and your skill level.
Q2: Can I reuse my stencil for multiple pumpkins?
Yes, stencils can be reused as long as they remain intact.
Q3: What type of lighting works best for Pennywise pumpkins?
LED candles or string lights are ideal for creating a safe and spooky glow.
Q4: How do I prevent my pumpkin from rotting?
Store it in a cool place, use a sealant, and apply petroleum jelly to the carved edges.
Q5: Can I carve a Pennywise design without a stencil?
Yes, but a stencil makes the process easier and more accurate.
Q6: Are there any online resources for Pennywise pumpkin carving ideas?
Yes, websites like Pinterest and Halloween forums offer plenty of inspiration and printable stencils.
Conclusion
Pennywise pumpkin carving is a creative and thrilling way to celebrate Halloween. By following this guide, you'll not only master the art of carving but also create a stunning decoration that captures the sinister charm of Pennywise. From selecting the perfect pumpkin to adding the final touches, every step is an opportunity to showcase your artistic skills and passion for horror. So, gather your tools, embrace the Halloween spirit, and let your imagination run wild!
- Blood Rain In Iran
- Antique Rugs From Iran
- Vice President Of Iran
- Us Vs Iran War Who Would Win
- What Happen In Iran
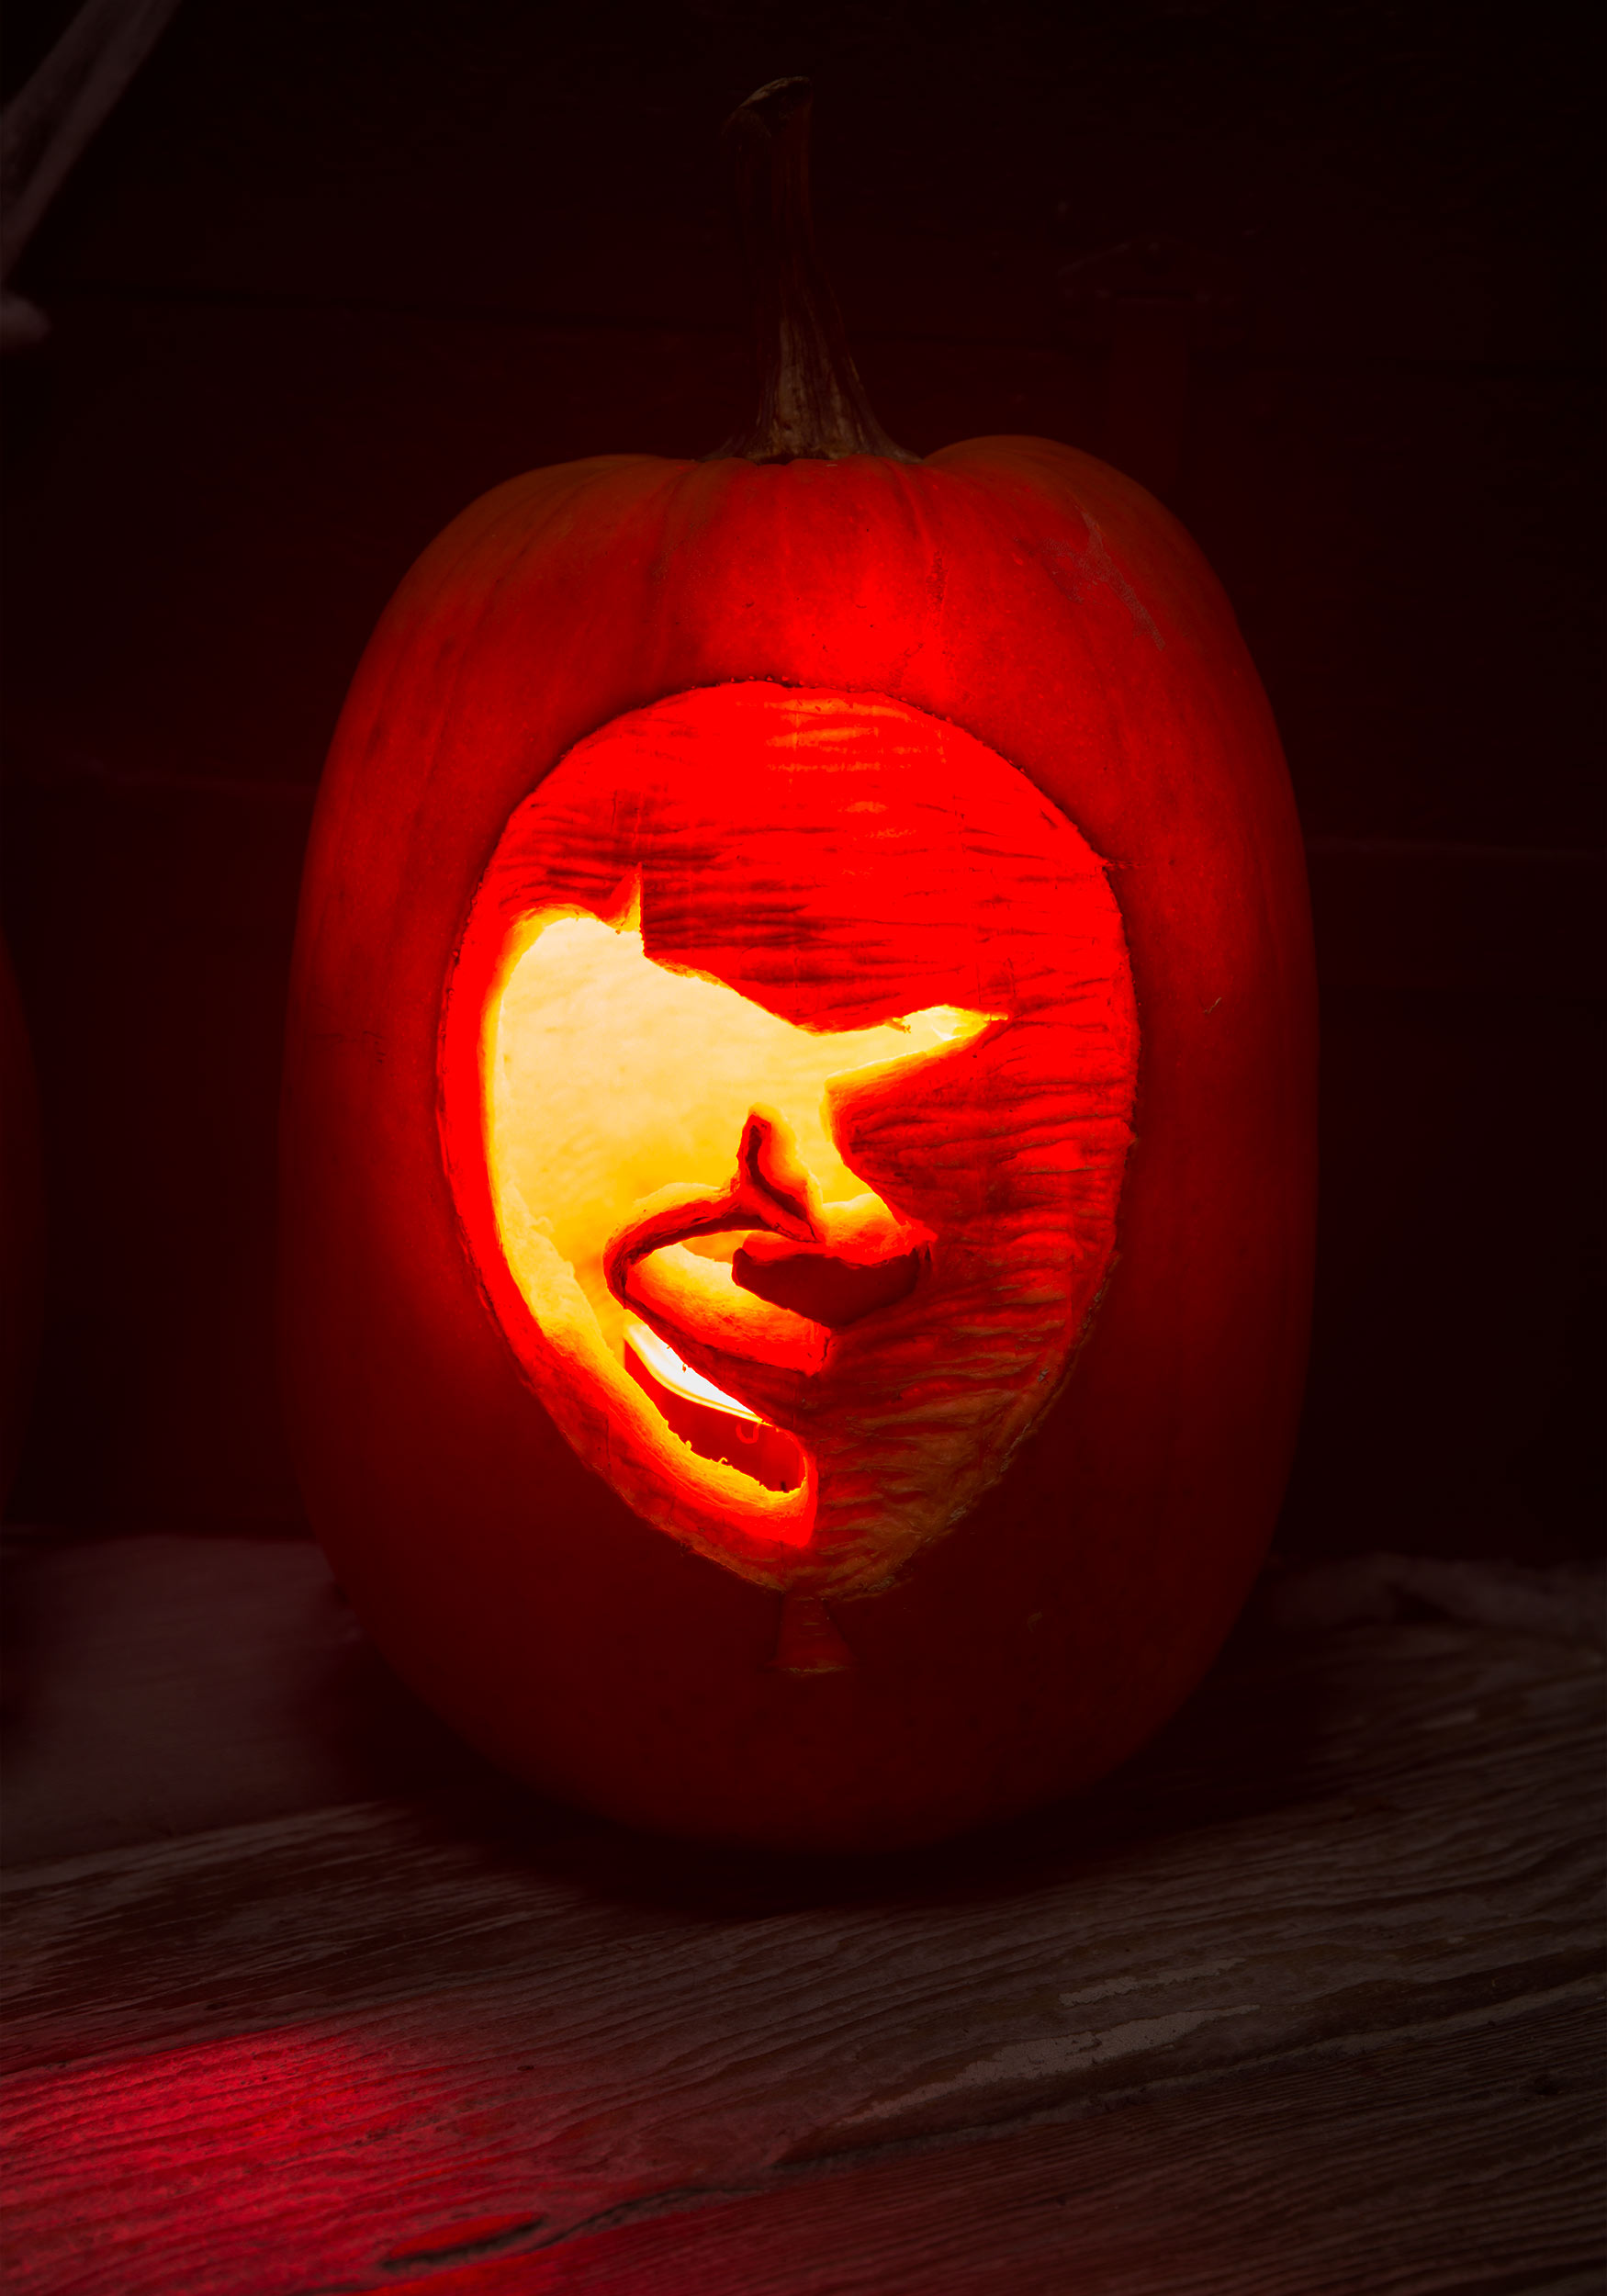
Pennywise Pumpkin Carving

Pennywise Head Pumpkin Stencil Free Printable Papercraft Templates
